Deploy Laravel application using Vercel
> Deploying your Laravel application to Vercel offers a streamlined, serverless solution for hosting your projects. This guide consolidates information from several resources to provide a complete walkthrough.
Deploying your Laravel application to Vercel offers a streamlined, serverless solution for hosting your projects. This guide consolidates information from several resources to provide a complete walkthrough.
Setting Up Your Laravel Application
Before deploying, ensure you have a Laravel application ready. If you don't, create a new one using Composer:
bash1composer create-project laravel/laravel laravel-vercel-project
(Refer to the Laravel Installer for detailed installation instructions.)
You can use an existing project, but you might need to make adjustments for compatibility. For this guide, we'll assume you're not using a database, but database integration is possible by configuring environment variables to point to your database (hosted externally on a service like AWS).
Vercel Configuration Files
To deploy to Vercel, you need to create three files: api/index.php, vercel.json, and .vercelignore.
api/index.php
Create a new index.php file inside a new api folder in your Laravel project's root directory. Add the following code:
php1<?php 2 3// Forward Vercel requests to normal index.php 4require __DIR__ . '/../public/index.php';
This acts as an entry point, forwarding requests to Laravel's standard public/index.php. Vercel requires the entry point to reside within the api directory.
.vercelignore
Create a .vercelignore file in your project's root directory and add:
/vendorThis prevents uploading the entire vendor directory, optimizing deployment size. Vercel will handle installing Composer dependencies.
vercel.json
Create a vercel.json file in the root directory. The configuration will vary slightly depending on the source, but a common configuration looks like this:
json1{ 2 "version": 2, 3 "functions": { 4 "api/index.php": { "runtime": "vercel-php@0.3.1" } 5 }, 6 "routes": [ 7 { 8 "src": "/(.*)", 9 "dest": "/api/index.php" 10 } 11 ], 12 "env": { 13 "APP_ENV": "production", 14 "APP_DEBUG": "true", 15 "APP_URL": "https://yourproductionurl.com", 16 "APP_CONFIG_CACHE": "/tmp/config.php", 17 "APP_EVENTS_CACHE": "/tmp/events.php", 18 "APP_PACKAGES_CACHE": "/tmp/packages.php", 19 "APP_ROUTES_CACHE": "/tmp/routes.php", 20 "APP_SERVICES_CACHE": "/tmp/services.php", 21 "VIEW_COMPILED_PATH": "/tmp", 22 "CACHE_DRIVER": "array", 23 "LOG_CHANNEL": "stderr", 24 "SESSION_DRIVER": "cookie" 25 } 26}
version: Specifies Vercel version 2.functions: Defines your Laravel app as a single serverless function, using thevercel-phpruntime (check for the latest version).routes: Redirects all URIs to theapi/index.phpfunction.env: Sets environment variables. Note that sensitive information likeAPP_KEYshould be added through Vercel's environment variable settings, not directly in this file. The cache settings are pointed to/tmpbecause serverless functions are stateless.
Alternative vercel.json configurations exist: Some examples include using builds instead of functions and specifying static asset handling. Refer to the provided articles for variations.
Deployment to Vercel
-
Git Integration: Push your project (including the newly created files) to a GitHub repository.
-
Vercel Login: Install the Vercel CLI (
npm i -g vercel) and log in usingvercel login. -
Import Project: In your Vercel dashboard, import your GitHub repository. Vercel will guide you through the process, prompting you to select the project root and name.
-
Environment Variables: After importing, navigate to your project's settings in Vercel. Add your sensitive environment variables (like
APP_KEY, database credentials, etc.) securely through the Vercel interface. -
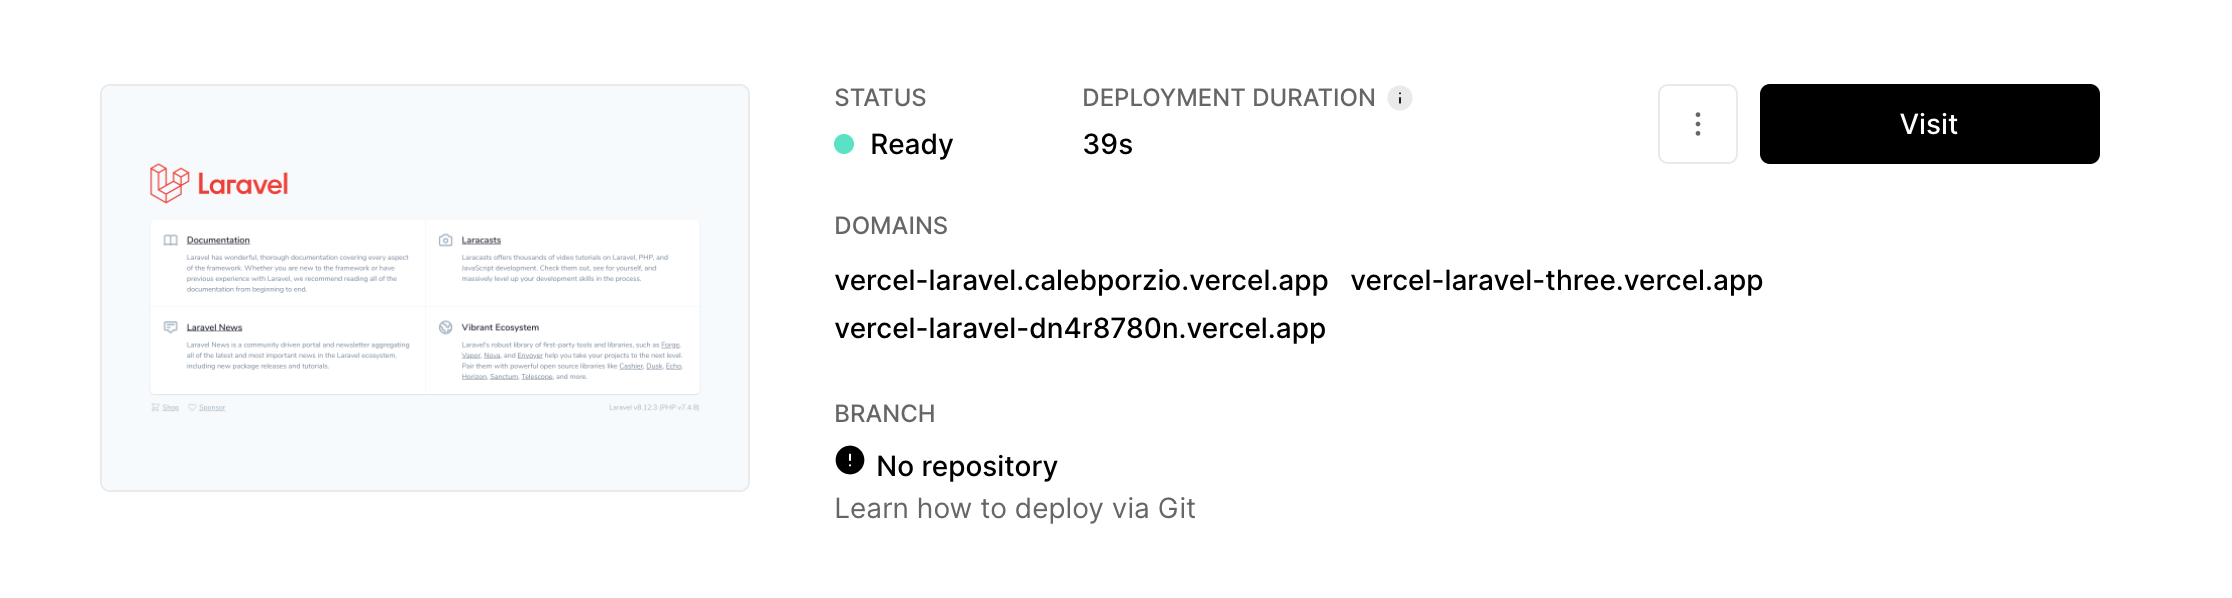
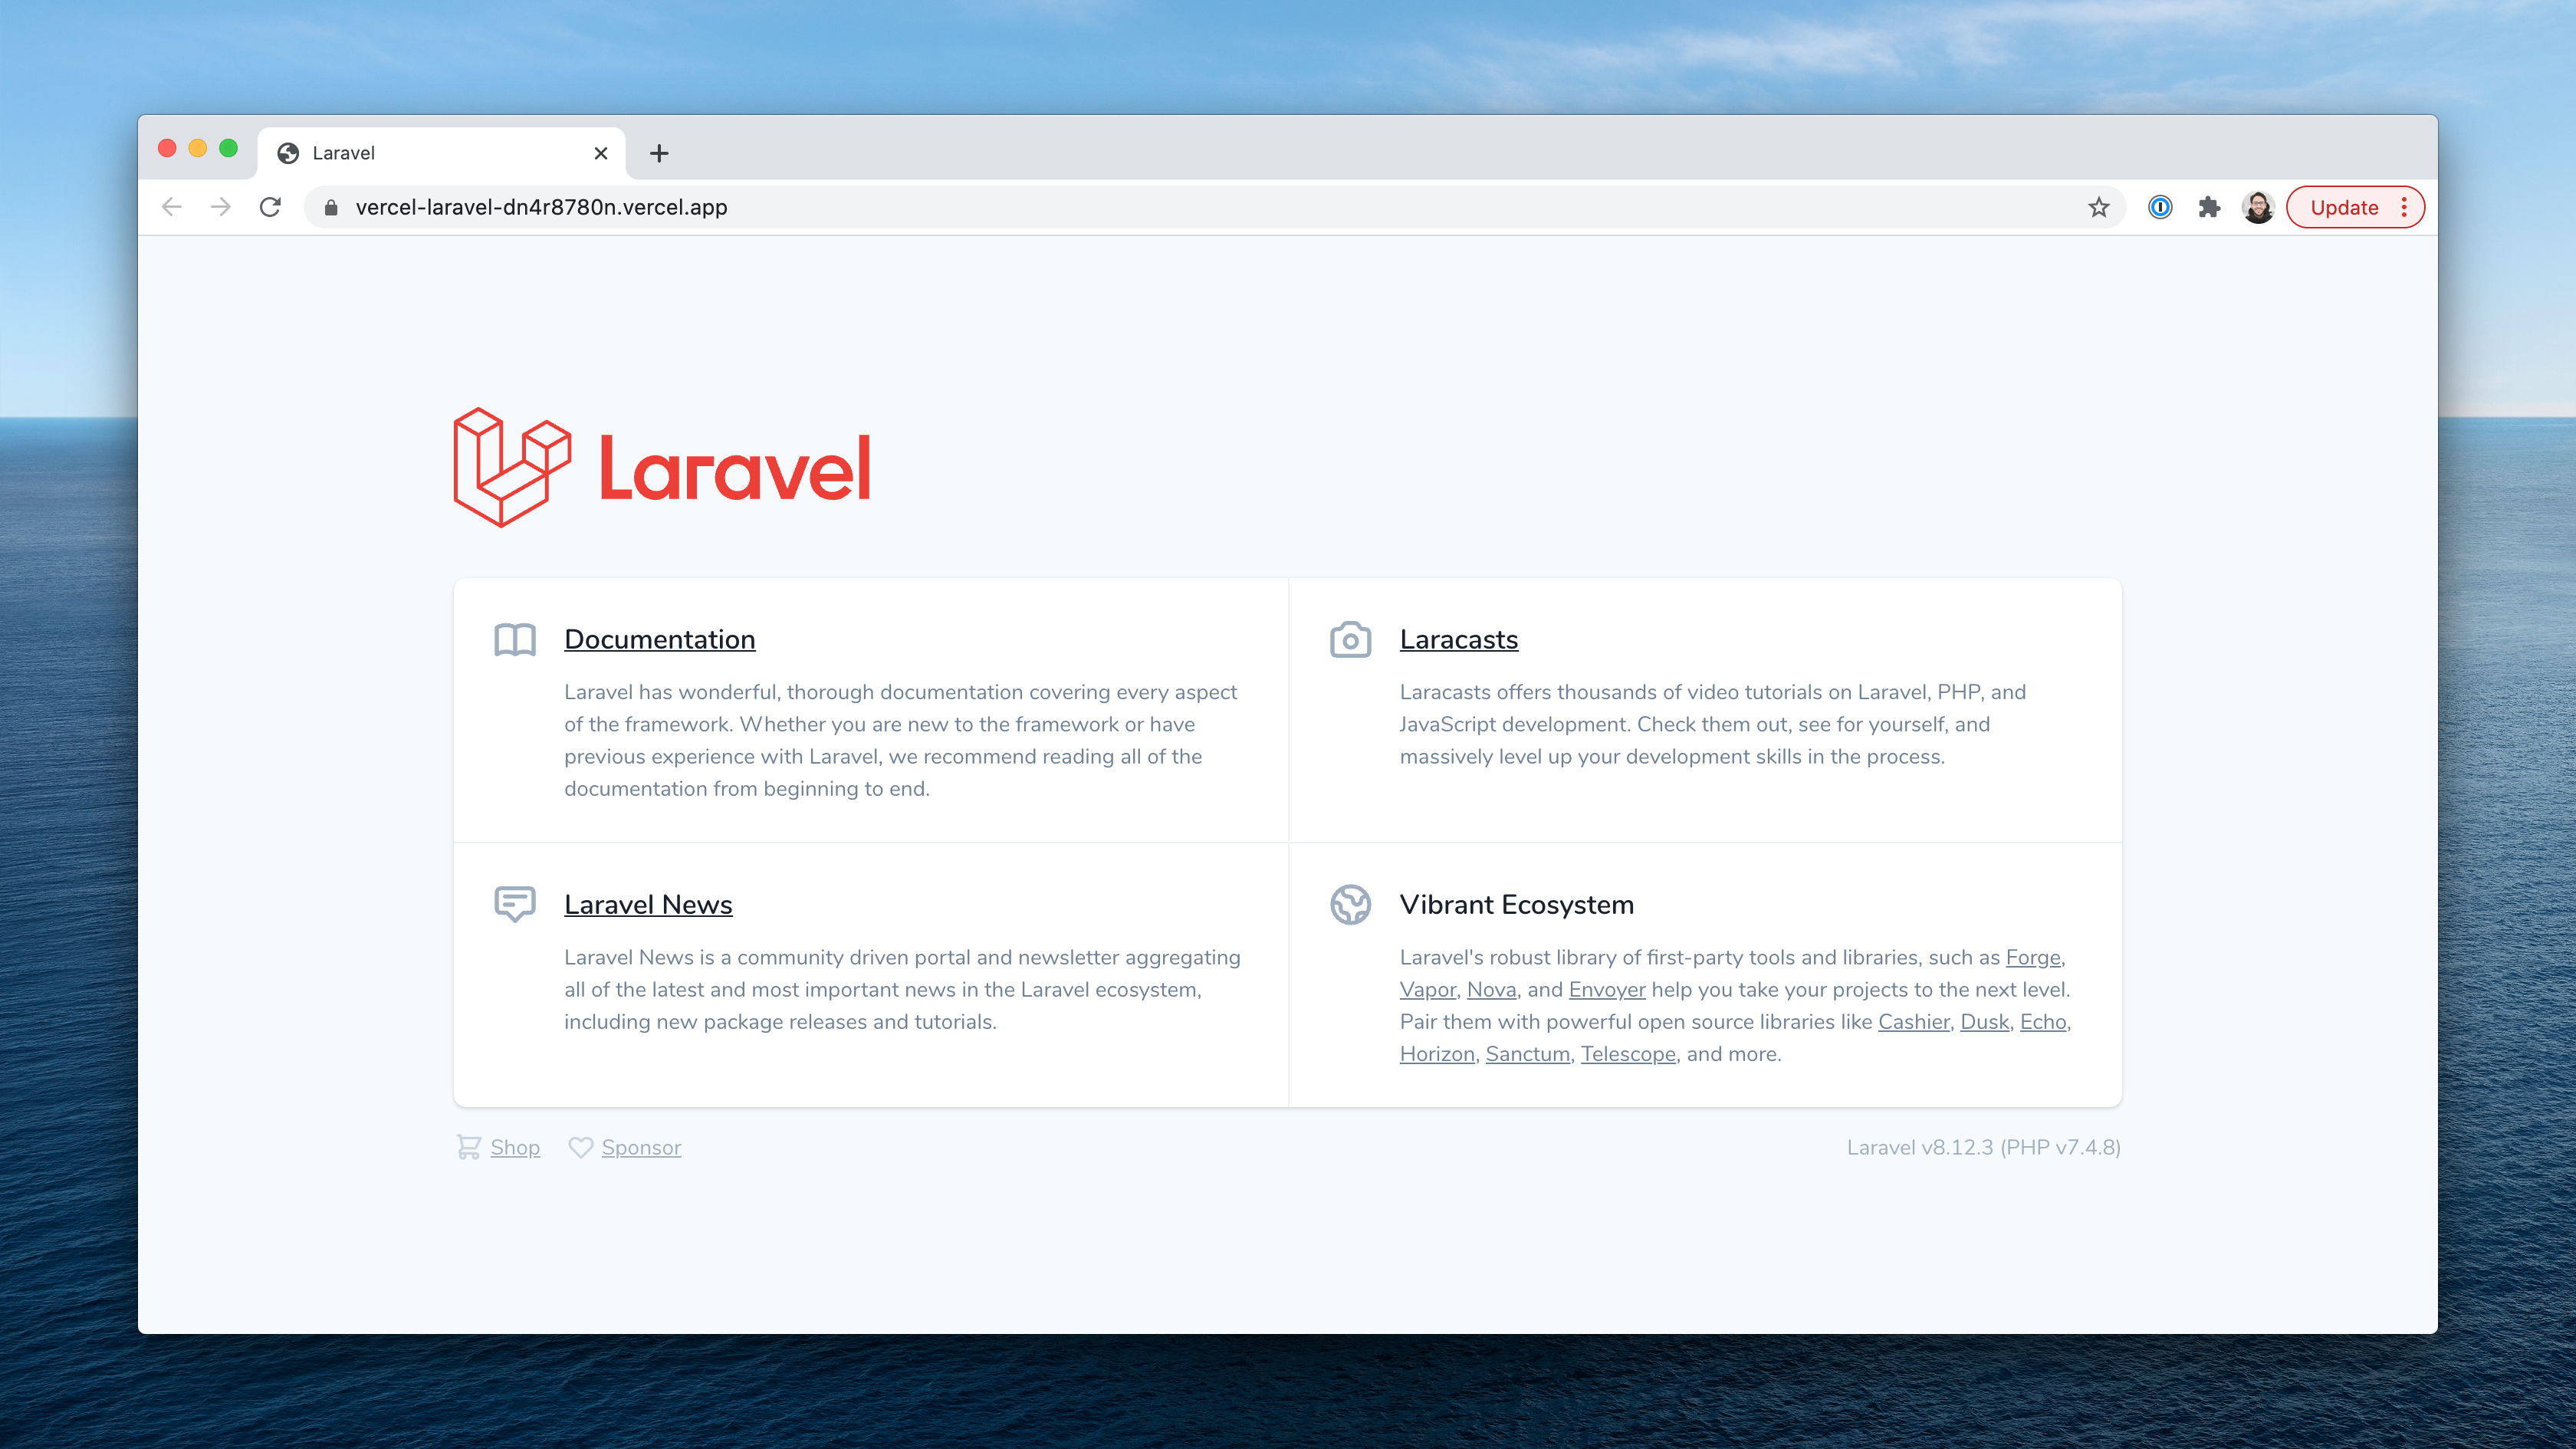
Deployment: Vercel will automatically build and deploy your application. You can then access it via the URL provided by Vercel. Future pushes to your GitHub repository's
mainbranch will trigger automatic redeployments.

Troubleshooting
The most common error is "No Output Directory named 'dist' found". This can be resolved by:
- Creating a
distfolder: Create an emptydistfolder in your project's root directory and add a.gitkeepfile inside it. This allows Git to track the empty directory. - Vercel Output Directory Setting: In Vercel's project settings, ensure the "Output Directory" is correctly set (often to
apiorpublic, depending on your configuration). - Vercel PHP Runtime Version: Ensure you are using a compatible and up-to-date version of the
vercel-phpruntime.
This guide provides a general approach. Refer to the original articles for more detailed explanations and potential variations in the configuration steps. Remember to always prioritize secure handling of sensitive information like API keys and database credentials.